
Contacts V2 (Beta) | Personalising Messages Using Contact Fields
With Contact Fields, you can easily manage customer data and leverage it to create personalized text message campaigns.
The Contact Fields feature plays a key role in managing your customer data.
Not only does it give you enormous flexibility when it comes to collecting or importing data, but it also lets you quickly and easily personalize each message in a mass text campaign.
What Are Contact Fields?
A Contact Field is a metabox that allows you to input data from a category, like first or last name, into a message for added customization.
In simpler terms, Contact Fields allow you to deliver personalized messages to each person in your mass text campaign.
Your account includes ten default Contact Fields:
- Phone
- First name
- Last name
- Note
- Location
- State
- Country
- Alias
- Birthday
Plus, you can add as many additional custom Contact Fields as you want by choosing from the following categories:
Text
Number
Date
Zip code
Email
Phone
-
Url
We’ll show you step-by-step how to create a unique custom field and how to input these fields into your messages.
Creating New Custom Fields
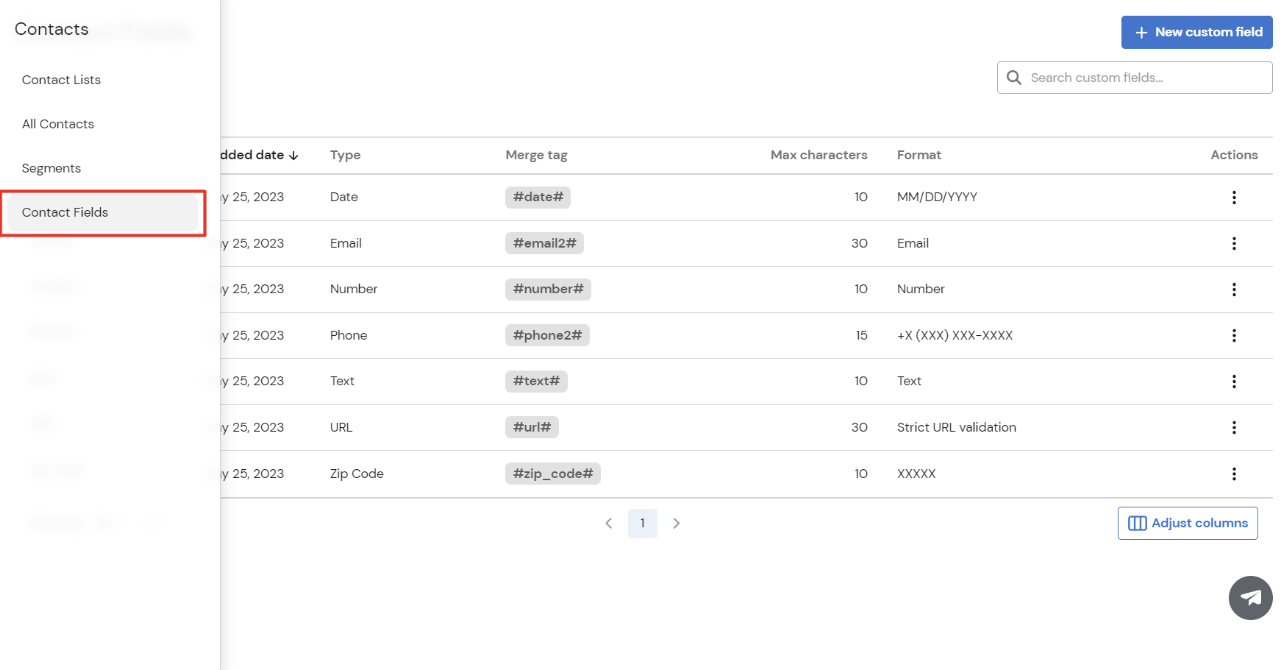
1. Click Contacts on the left-hand panel of your dashboard, then Contact Fields:
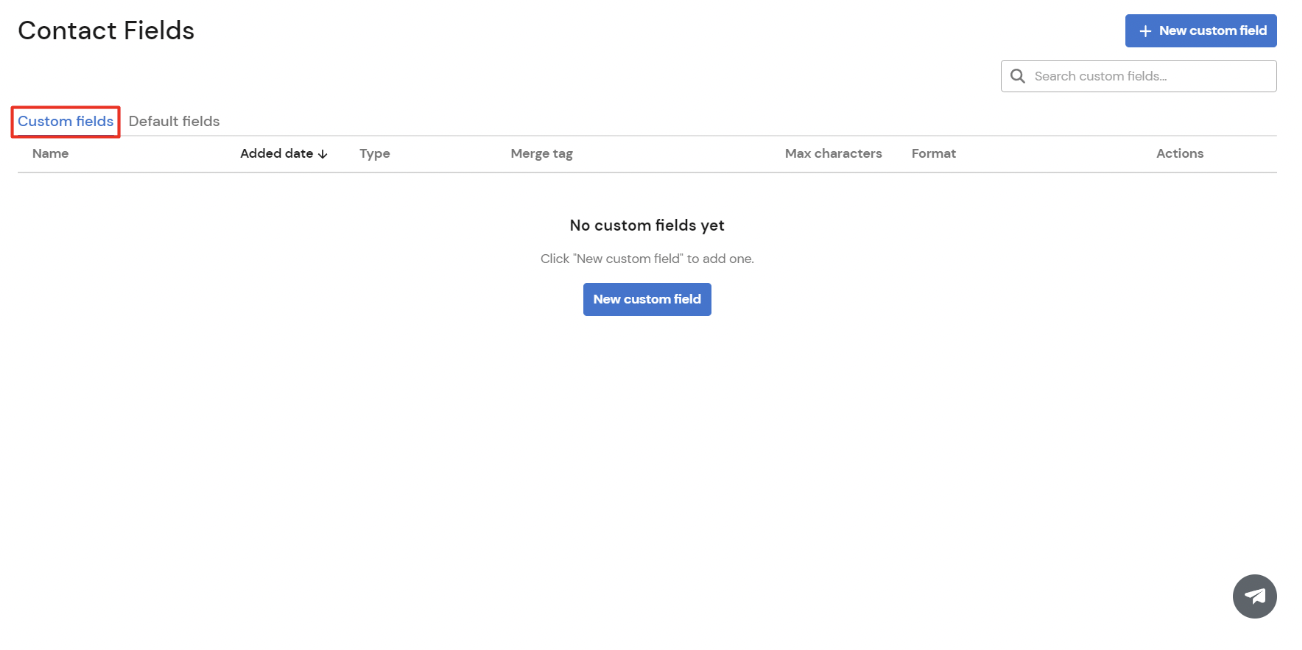
2. You will land on the Custom fields tab which stores Contact Fields created by you:
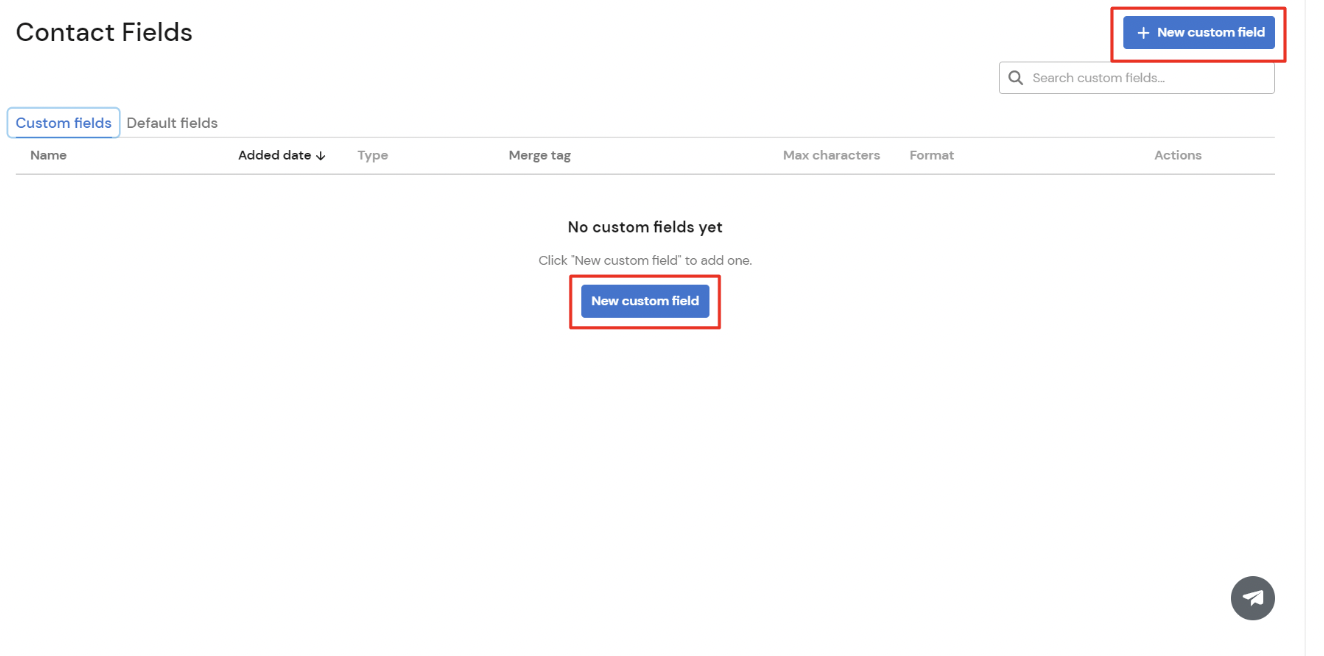
3. In order to add a new custom field, click New custom field at the top or in the middle of the page:
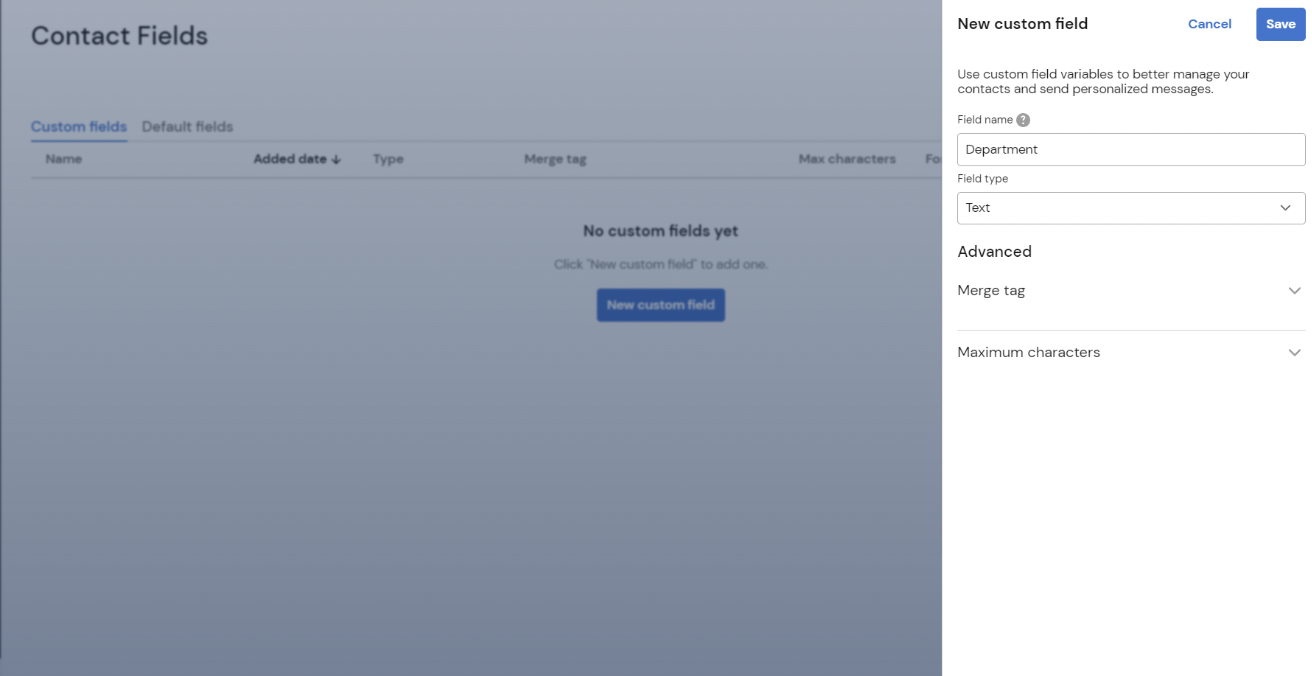
4. Let’s say we want to include a field called “Department”. In the sidebar, we’ll type out the Field name “Department” and select Field type Text:
5. In order to populate these fields with information, you’ll need to either import info or add it in manually.
Now let’s put our Contact Fields to use in an actual message.
Adding Custom Fields to Messages
1. Go to Campaigns > New Campaign.
2. Start typing out your message and click the Personalisation button.
3. A list of all of the available Contact Fields will appear. Choose the field you'd like to insert and click on it. In this example, we'll personalize the messages with the field #firstname#.
4. When you insert a Contact Field into a message, we'll replace the field with the corresponding info for each contact.
In this example, when the contact receives the message, they'll see their own first name where the field was placed. Finish typing out your message. Insert as many fields as you'd like.
What happens if the first name is blank?☝️
When that happens the message simply leaves a blank space where a first name is inserted for others.
5. Next, choose the list you want to send your message to. You can either schedule your campaign for later or send it immediately. Alternatively, you could first try to save the campaign as a draft or send it to yourself as a test.
6. And you’re done! Here's what the example message may look like on a contact's phone:
Hi there, Joe. The Marketing get-together is this Friday at 7PM. Hope to see you there!