Importing Contacts
The "Import Contacts" feature allows you to easily and efficiently upload multiple contacts from an external source such as a customer database
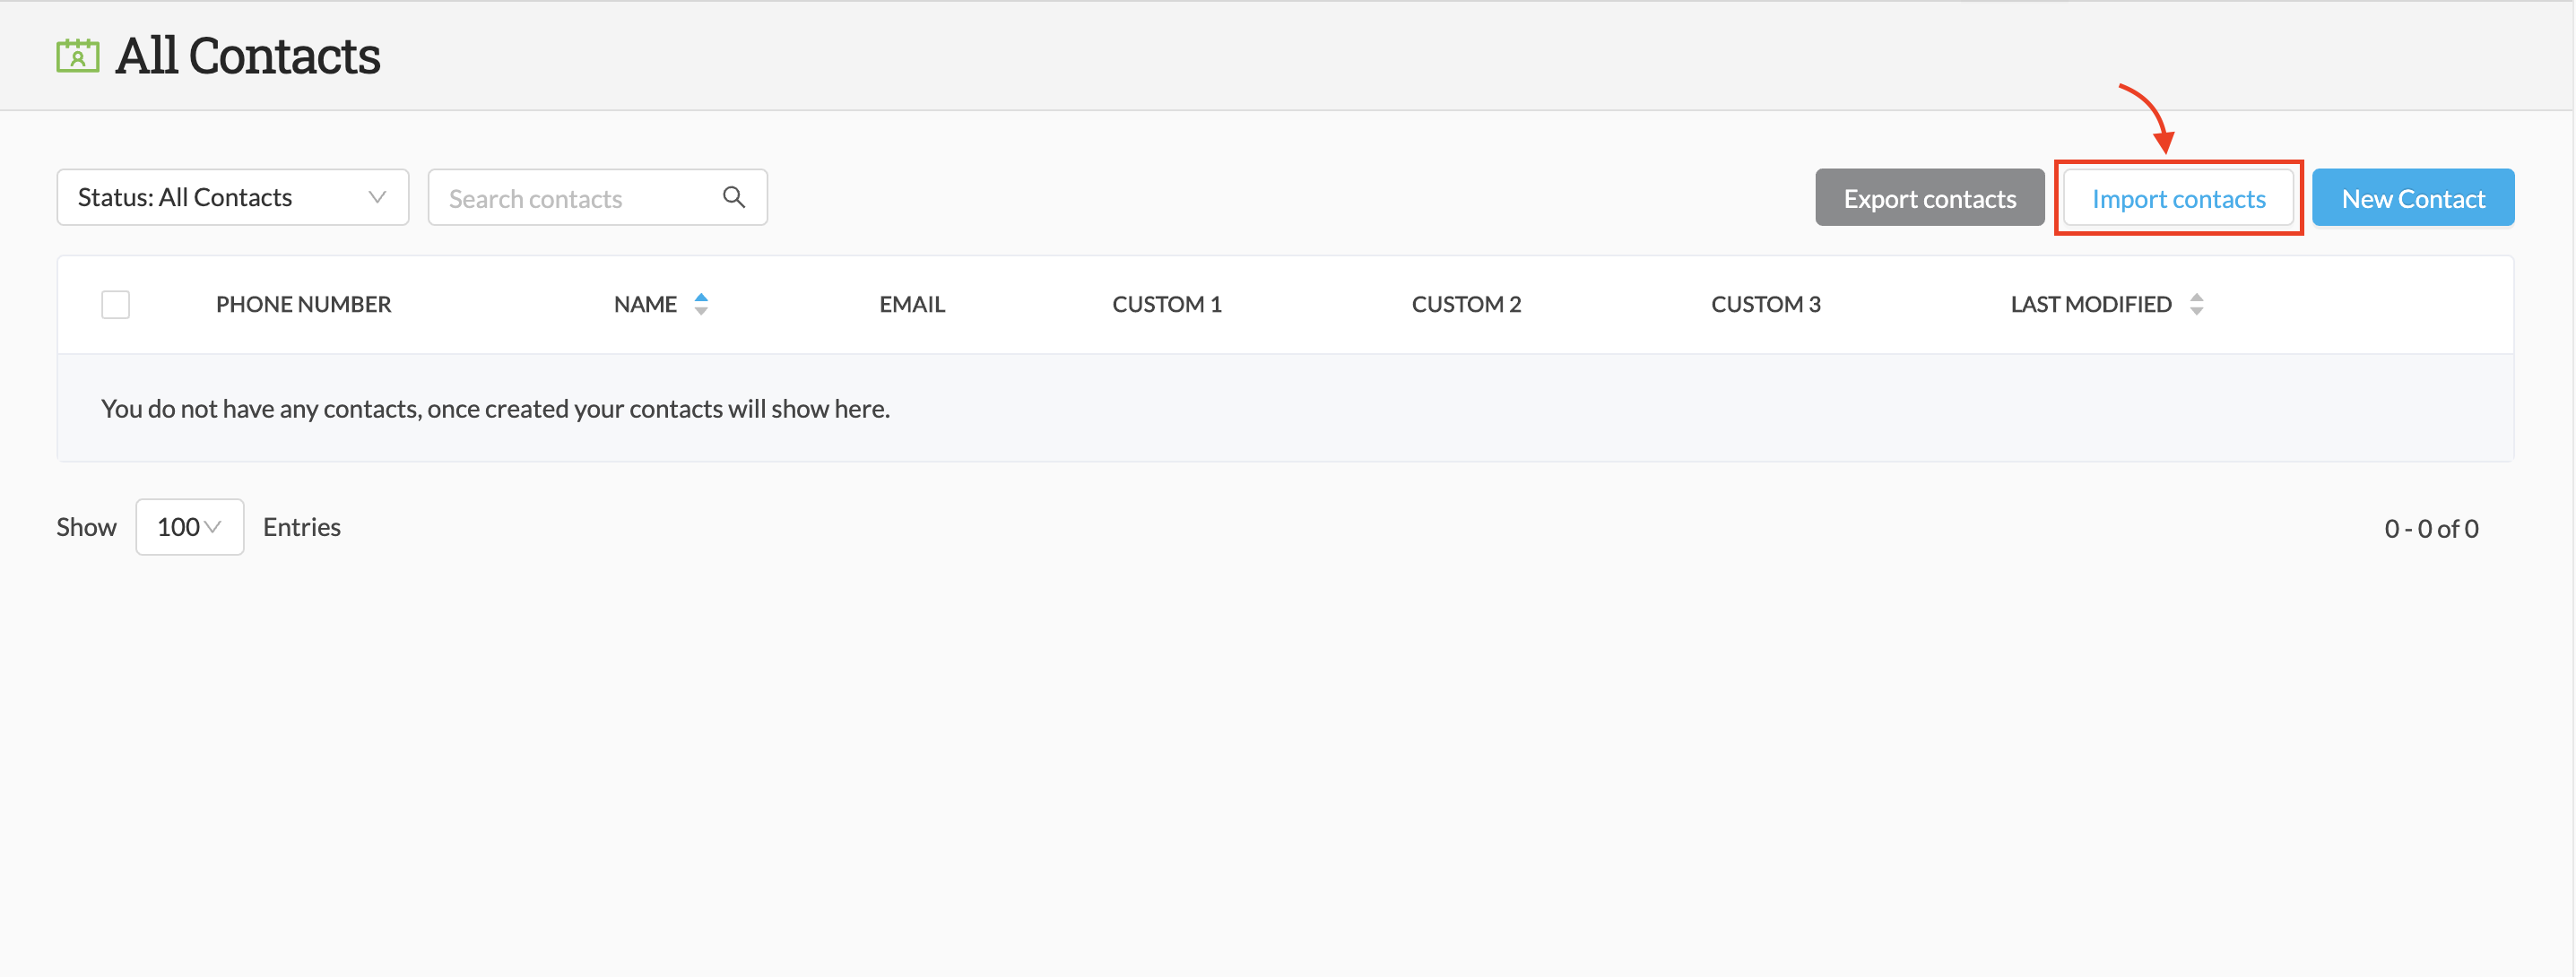
The "Import Contacts" option appears in both Contacts > All Contacts and Contacts > Contact Groups
Click on "Import contacts" at the top right of the page:

Uploading contact data
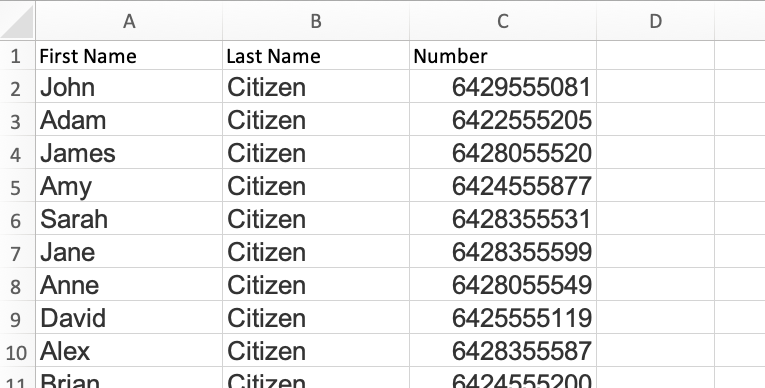
First, you will need to prepare your contact data:
- You will need to ensure your contact list is saved as a .csv or .xls file (the optimal file format is CSV UTF-8, Comma delimited)
- If you do not add the international prefix to your contact numbers, the web portal will assume you are importing numbers local to your preset location in your profile settings, and will validate accordingly. This means that international numbers will be rejected without the correct prefix being added
- With local numbers you do not need to add the leading zero to the number to successfully import (e.g. if your spreadsheet cells are formatted as "numbers" then a phone number may appear as "212345678" as opposed to "0212345678" - both formats will be accepted for import)
- You can include additional data to your contact list which can then be mapped to the custom fields of each contact profile

When your contact list is ready, upload it to the web portal using either the "Browse" function or "Drag & Drop" your file straight into the upload window:

- You can select which pre-existing groups to which you would like all contacts imported in the bottom field under "Add to contact groups (optional)"
- You have the option of unsubscribing all of the contacts in the upload (this should only be used for bulk uploading blacklists from other systems, as you can not undo this)
Matching data columns
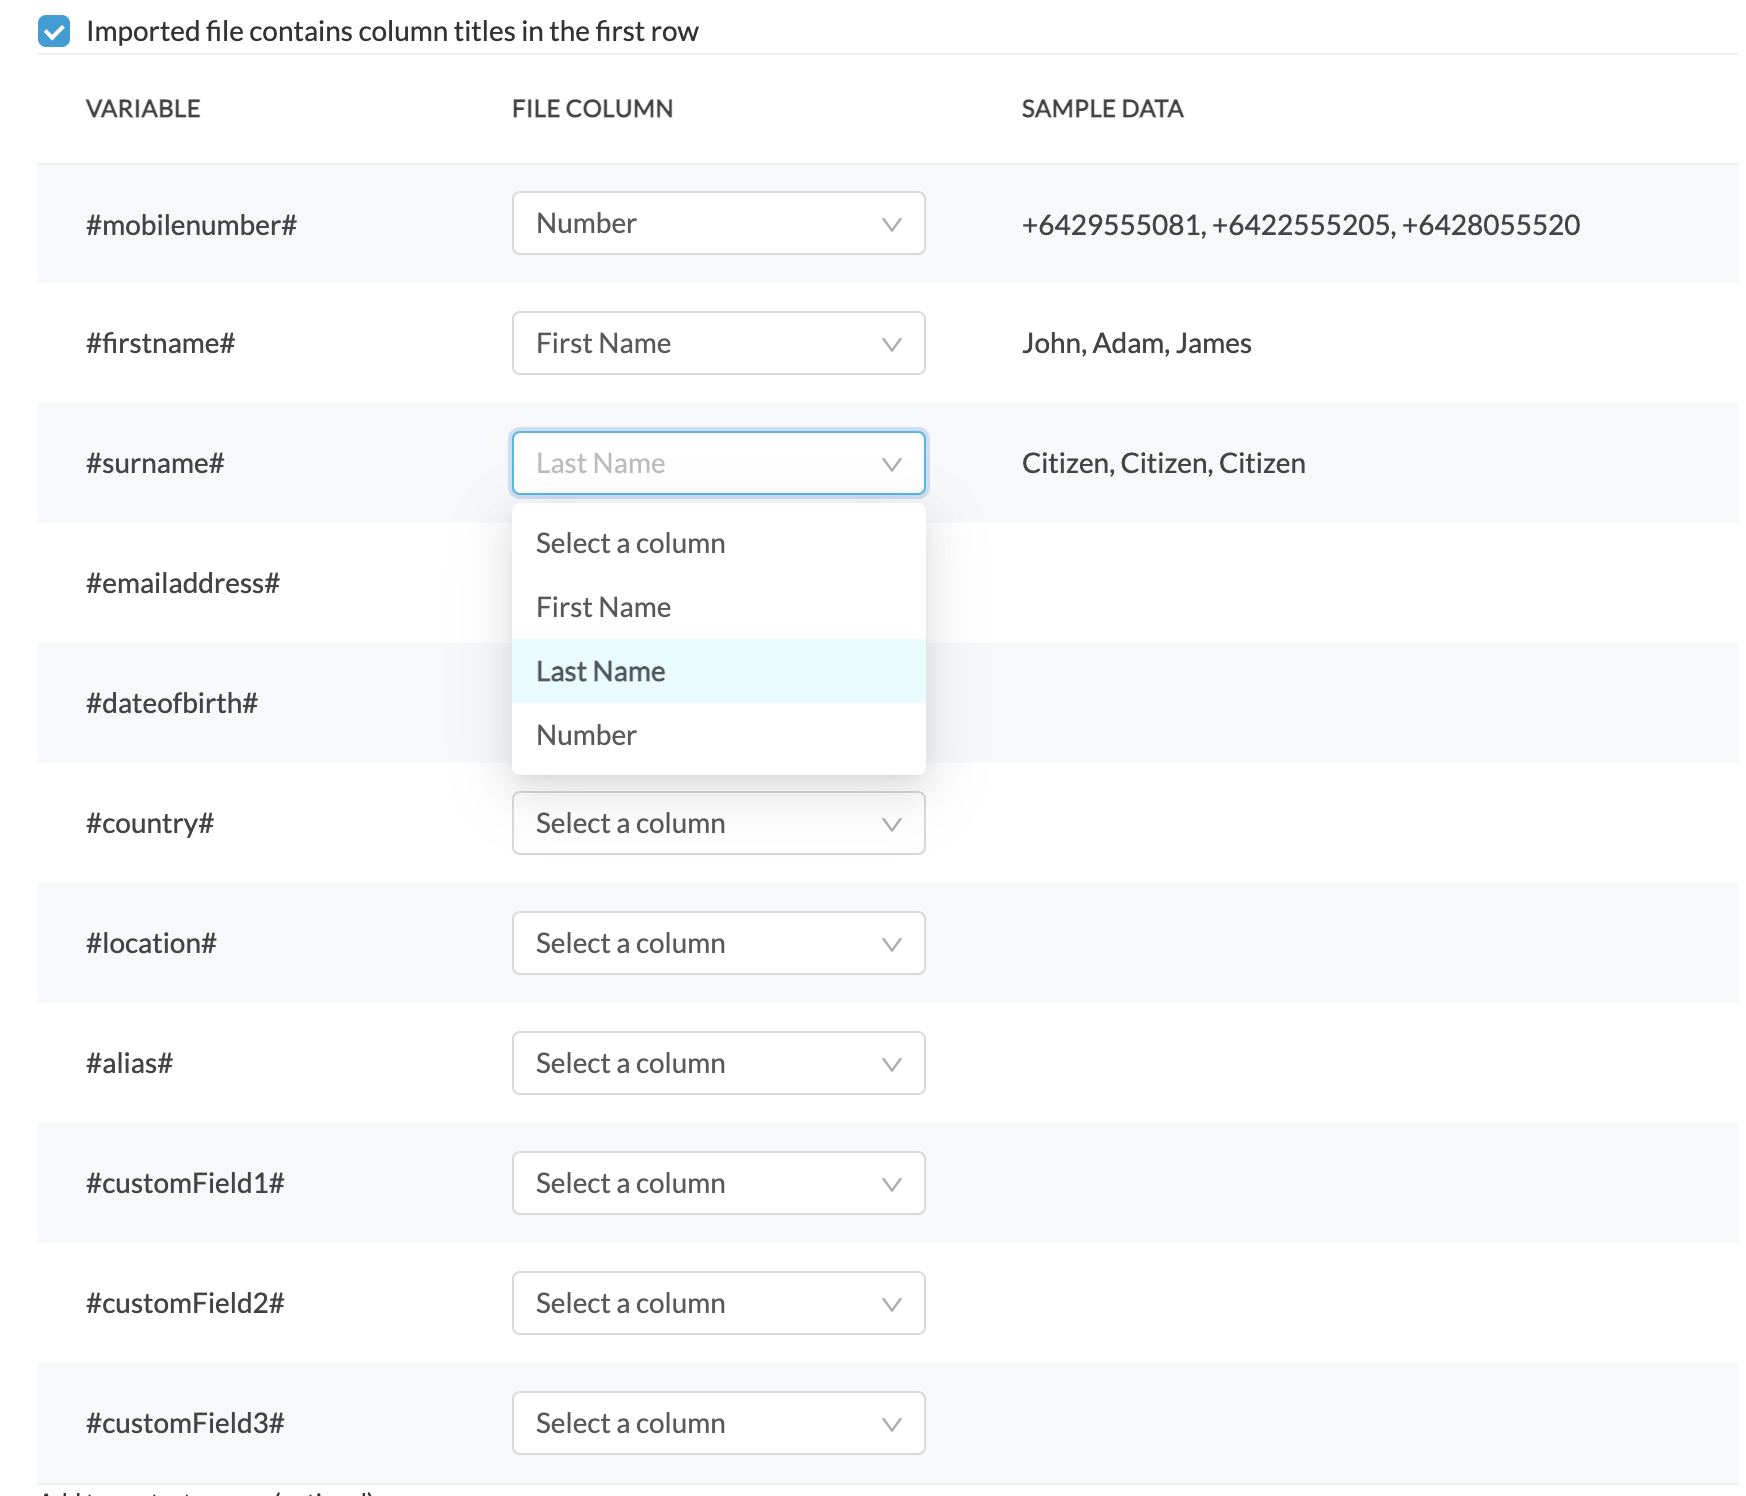
After uploading your contact data you need to map the information in your spreadsheet to the relevant available fields
- The system will automatically search for the column containing the mobile numbers; however, you can change this if it identifies the incorrect column
- You can match the rest of the data in your spreadsheet by selecting each field and then choosing the corresponding column from the dropdown menu that appears
- After you have selected a column for a variable you will see some sample data from the original spreadsheet

If your contact database includes additional custom information, then this can be mapped to the "Custom" fields in the contact profile.
Once you have aligned your data correctly, click "Import in the bottom right of the screen to complete the action
Reviewing Import Results
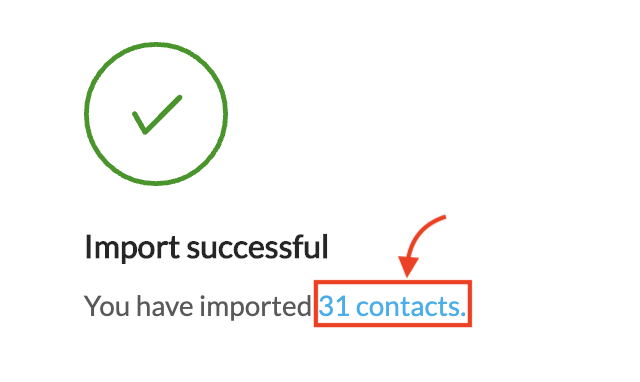
You will then be shown a result of the import in the middle of the screen, along with links for review of successful and failed imports. You can review the specific data by clicking the links in the notification

